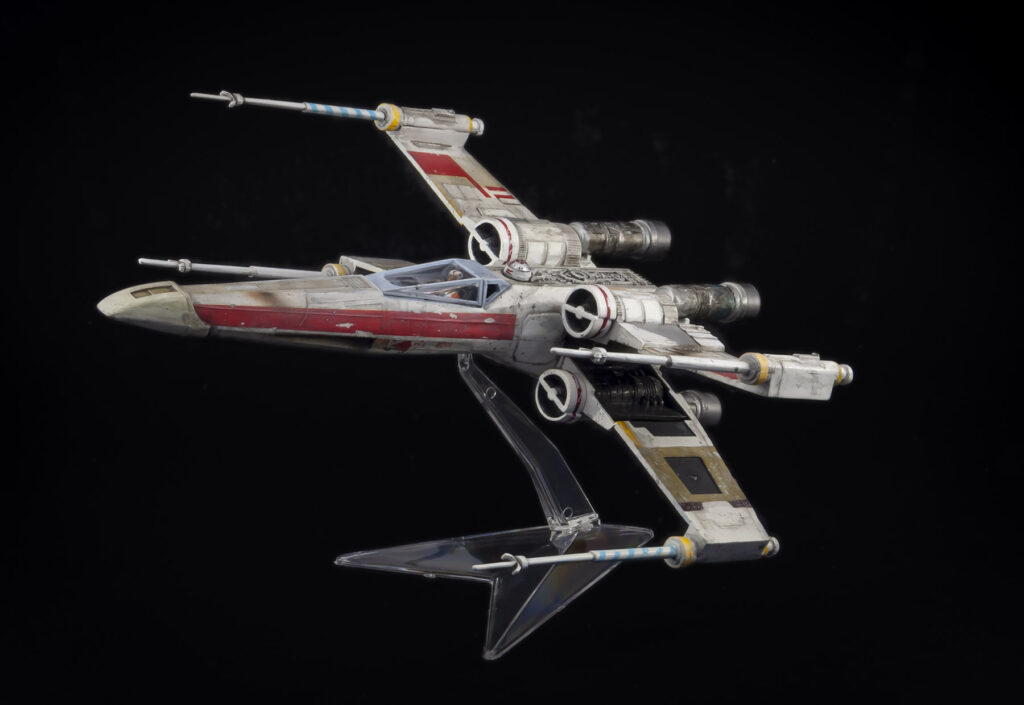
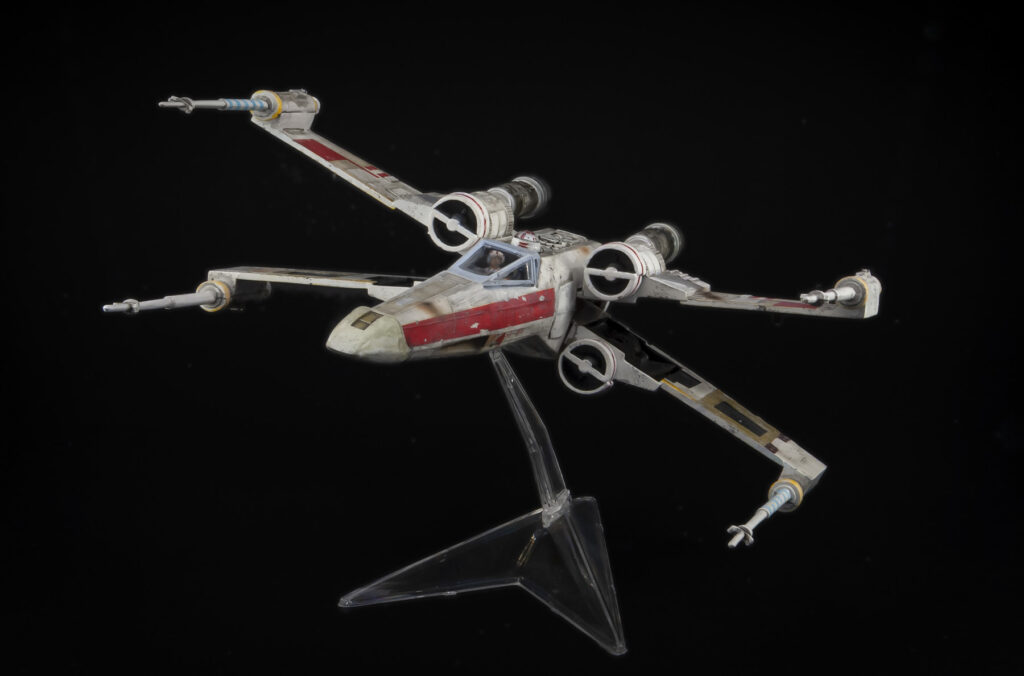
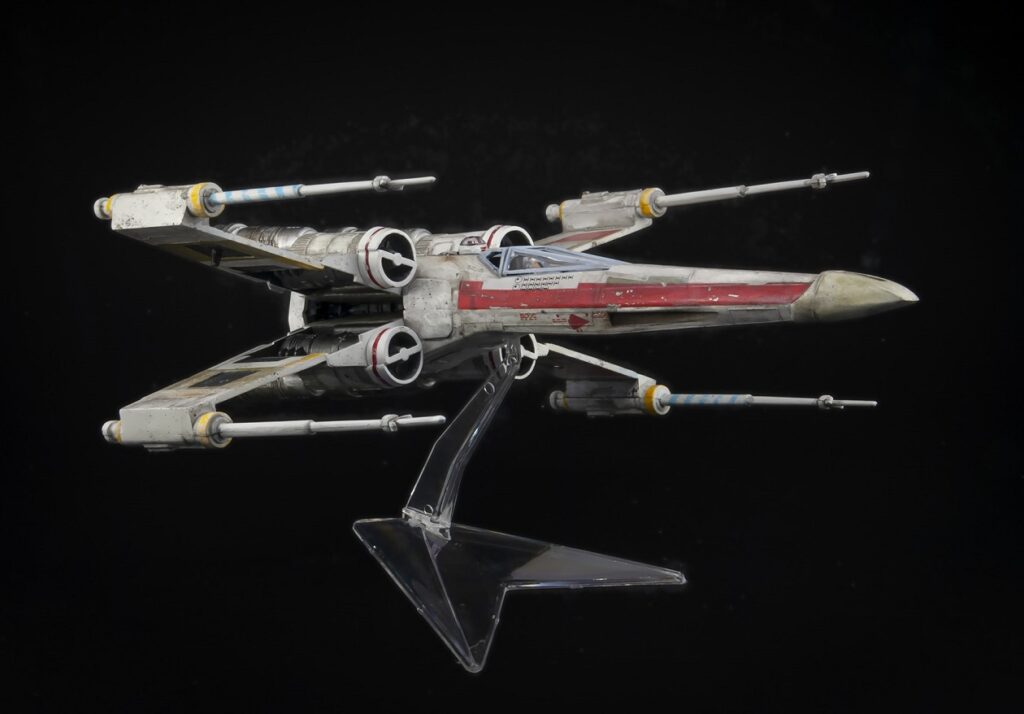
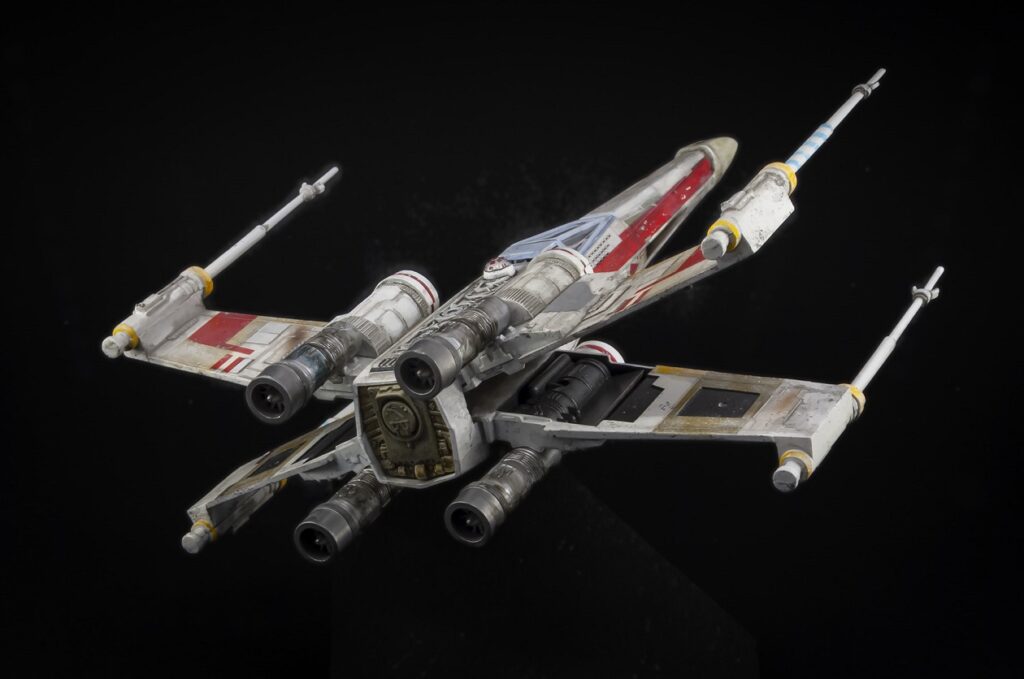
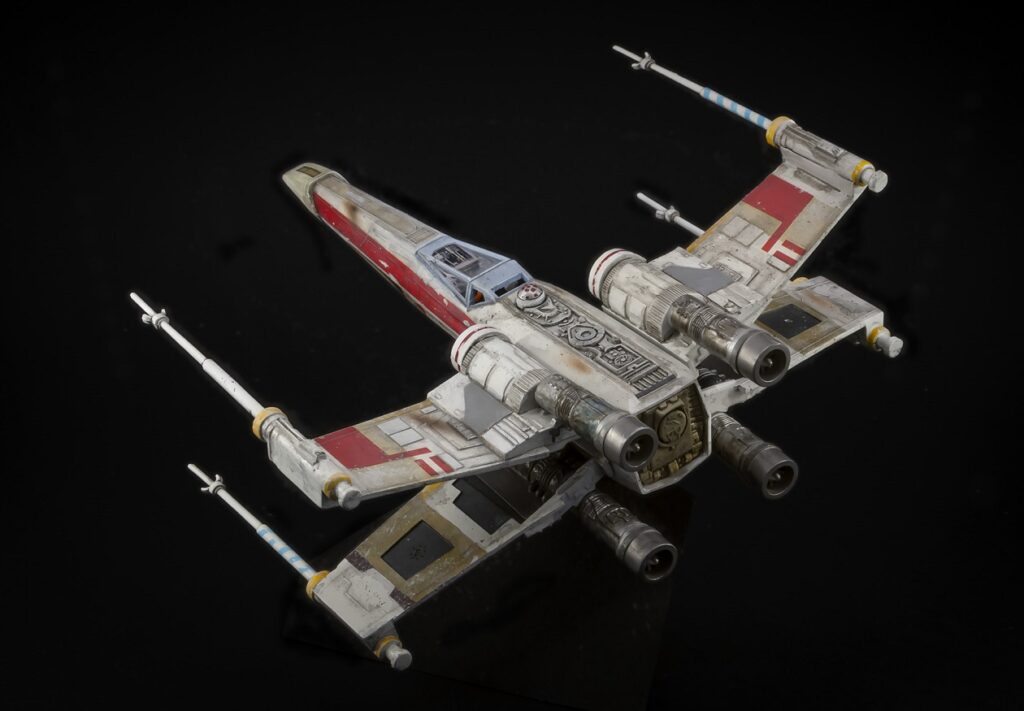
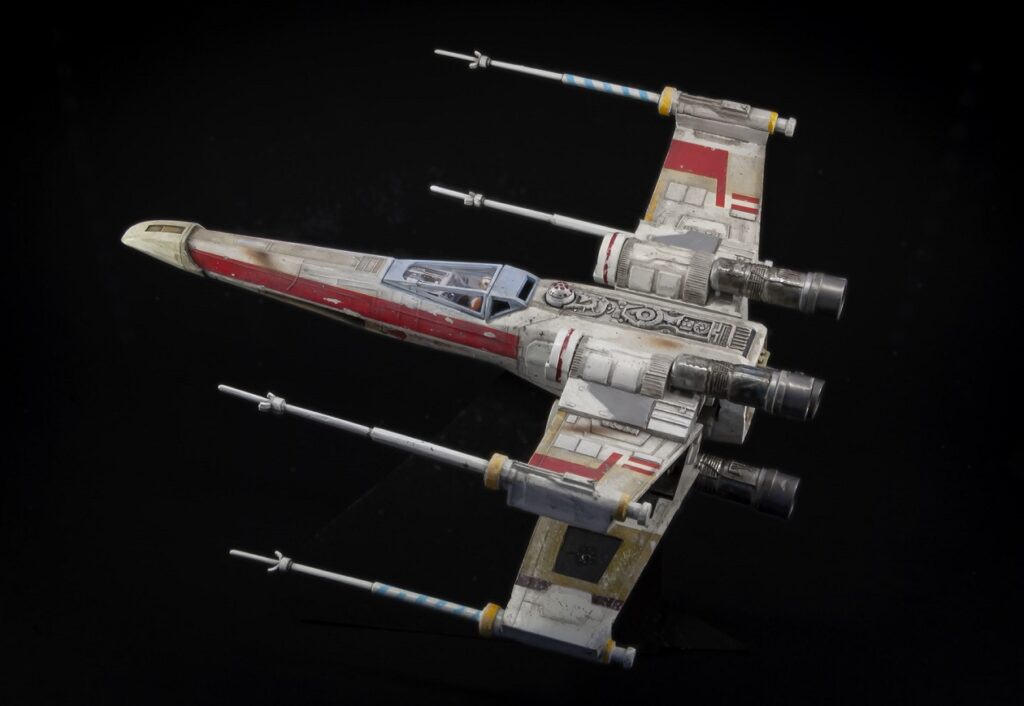
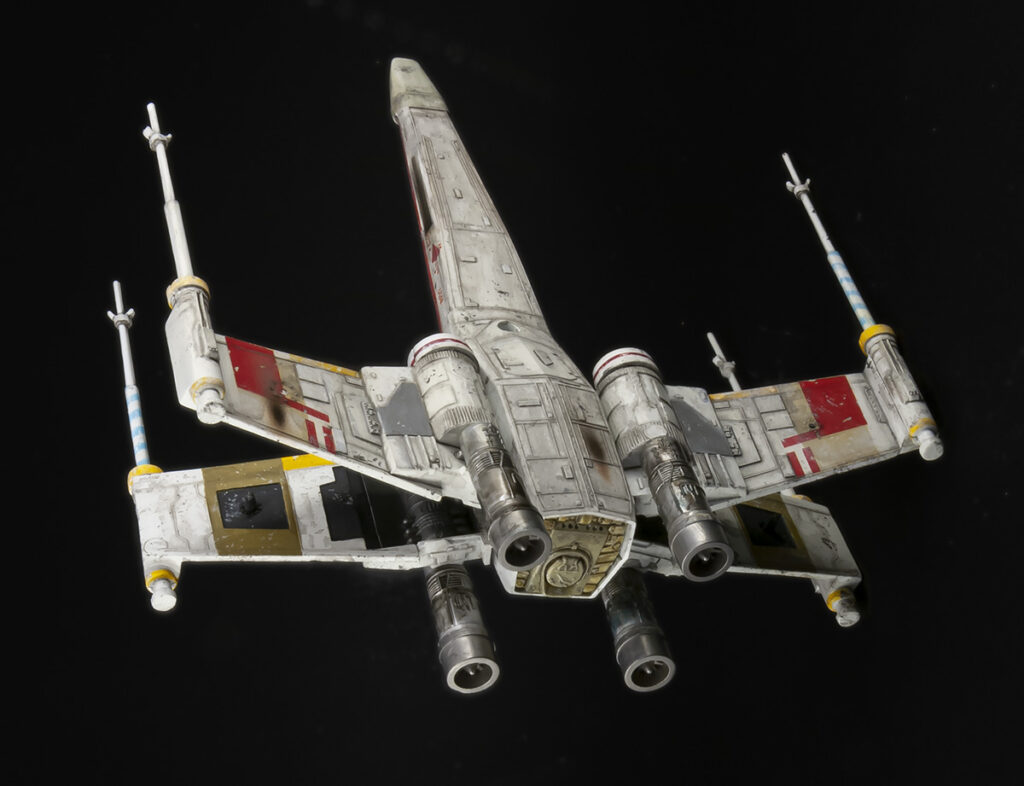
CLICK FOR LARGER
[This post was written November 8th but I was too busy to sort pictures and post it until now]
I became a Star Wars fan at a pretty young age; I think I was 7 or 8 when I first started reading the scripts/artbooks and watching at least parts of the movies. (I did watch Ep1 in theatres and I wasn’t much older than that.) I had the Special Editions on VHS, I had a green lightsaber, I read the YA Jedi novels at the library. And at some point, my dad gave me a MPC X-wing model for my birthday, because even then I recognized that X-wings were sexy and X-wing pilots (especially Wedge Antilles) were my favourite characters after Luke Skywalker himself.
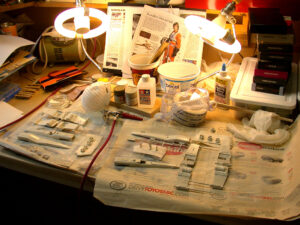
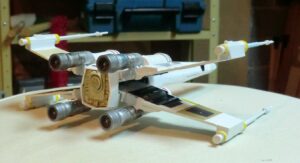
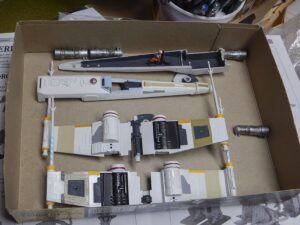
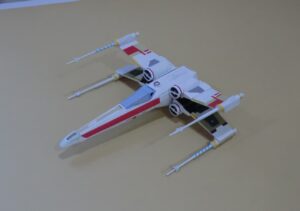
I began painting in 2002 (this picture was taken April 9th, after priming the first pieces (check out those VHS tapes lol)) and just completed it TODAY, November 8th, 18.5 years later. My dad helped me every step of the way, naturally, as I am normally more interested in organic people-y miniatures and less in realistic mechanical war machines, so I didn’t know anything about the techniques. He paints model planes on a regular basis, though, so he knows lots of things (and since the advent of YouTube and online model painter forums, he’s learned even more!).
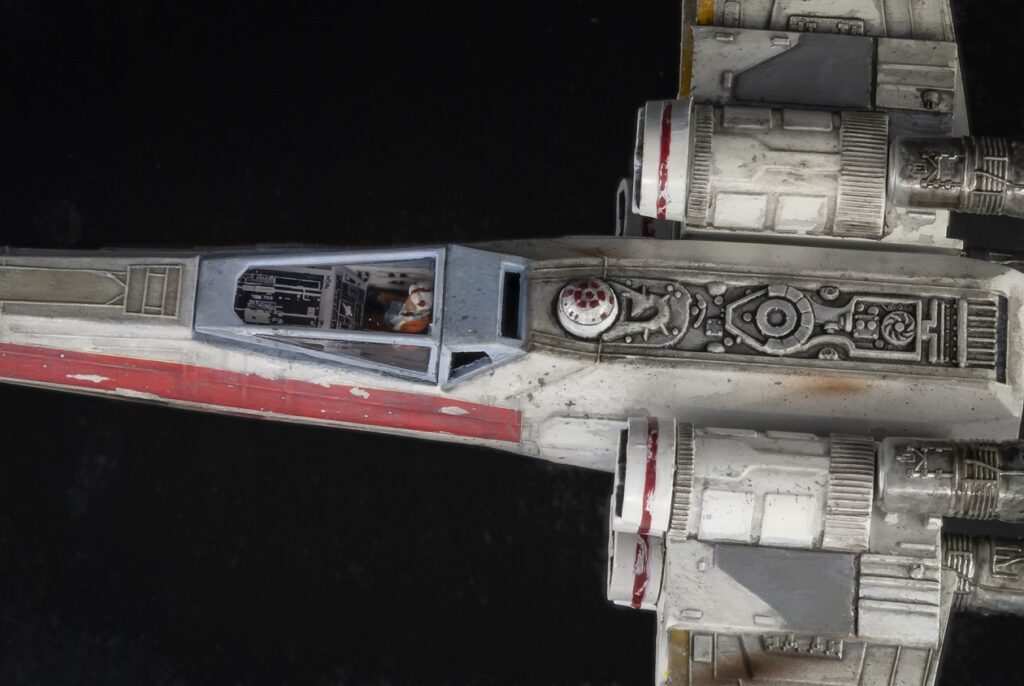
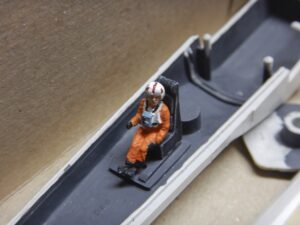
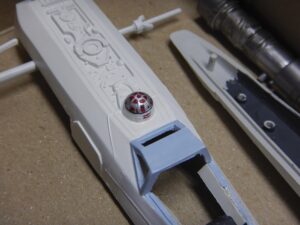
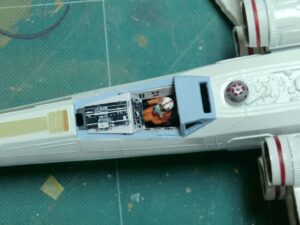
We got a lot of reference pictures of the movie models, including close-up shots of the dashboard and control panels. The biggest modification we made was to change the entire cockpit. This video shows how strange the cockpit was (especially compared to the rest of the model, which looked pretty good?) – you can see the pilot looks like some kind of… racecar driver? So my dad cut all that part out (I wasn’t old enough to use the sharp knives at that point, I’m pretty sure) and got me a fighter pilot and seat from his box of spare parts. The pilot also needed a life-support chest box, so a tiny bit of sprue turned into that, and then I painted the pilot to be a rather generic pilot with a generic helmet. I hadn’t settled on making Wedge’s ANH Red 2 X-wing in particular yet at that point, so it doesn’t have Wedge’s green helmet with the triangles. The paint job on such a teeny-tiny figure is pretty good considering how old I was at the time, though I do wonder what I’d do now (time to get a Bandai model amiright).
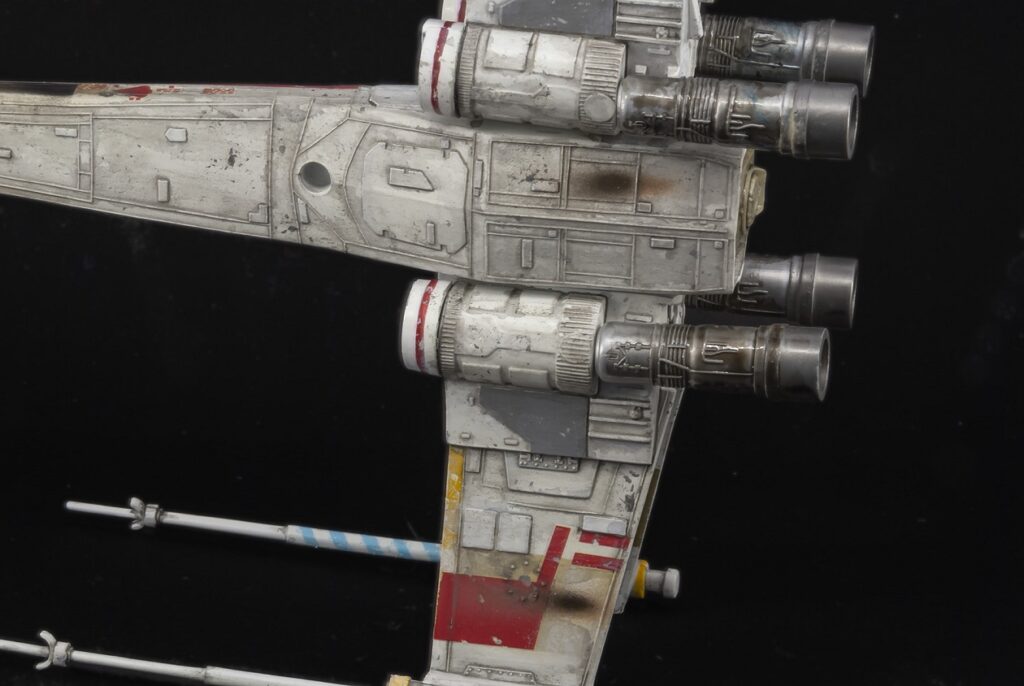
The first part I actually completed was the engines. At that time, Tamiya cement was pretty magical to me in how it melted the plastic together. I also liked the smell. (I still like the smell.) ((Don’t worry, I’m not in the habit of getting high off glue.)) We painted them in different stages. One of them has no weathering, as if it’s brand-new; two of them have oily weathering, and one of them has a bit of a blue tinge as if it’s had some heat damage.
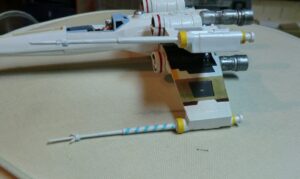
I think it sat for a long, long time after that, while I grew up and went to university; the next pictures my dad has are of doing the different coloured panels on the wings and fuselage, which seem brightly coloured but would get painted over to be much more faded. By this point, I’m sure, I had decided not to use the landing gear – I had had them primed in the first stage, since may as well, it doesn’t cost any effort to do it all at once – so when I decided not to use them, I filled in the holes in the bottom of the model where they’d go.
After more sitting around for years, we got around to doing the cockpit, which really meant my dad printed up a new control panel on high-quality cardstock and we glued it in over top of the plastic. No need for painting tiny details or applying decals if it’s already printed on! That was about the time we started to apply exterior decals and weather it. By that point, I had definitely decided to do Wedge’s X-wing, Red 2 in ANH, so we adjusted the decals appropriately; then we clear-coated the model to protect the decals and added paint chips and a rough wash. The cockpit canopy had been protected under layers of tape while we did that. (I think this is also when we printed the kill-marker decal, which I pulled from one of the X-wing comic books, which is… when he’s Rogue Leader and has shot at two Death Stars, so continuity error on my part. It just means it’s more Wedge-related, right? XD)
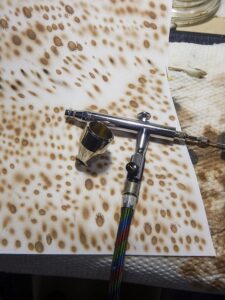
And then this month, with just about everything done, I added a new wash of the special panel detail wash paint to really highlight the details and hoo boy I am glad I did; it really made this model look great. Little bit of oil paint for touch-ups and getting in the torpedo tubes, and then we could add the kill-marker decal, which despite being anachronistic, is a really beautiful tiny decal. And then just this weekend I learned how to use an airbrush in 3 hours, just making little dots on a piece of paper, enough to do some blaster burn marks. Airbrushing is hard! Props to the people who’ve learned to do it properly!
It’s a really good model for my skill level; nowadays Bandai has their incredible snap-together model but the level of detail on this one is not bad! It’s a good record of my progress through model making, and once you do a good wash and drybrush, the details of the paneling look great. I might someday acquire a Bandai and do a more accurate version of Wedge, probably as Rogue Leader post-RotJ era, but given the other models on my list, I’m not in a rush to do it soon. For a while I’d just like to bask in the accomplishment of having completed this one and have it look really nice!
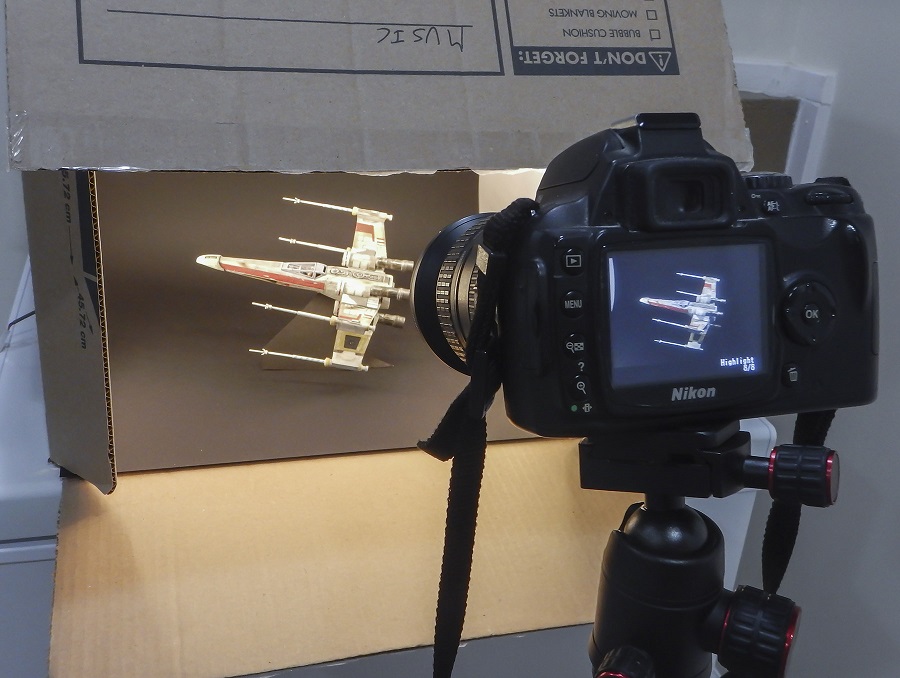
The photography process (note the black paper to hide the transparent stand).
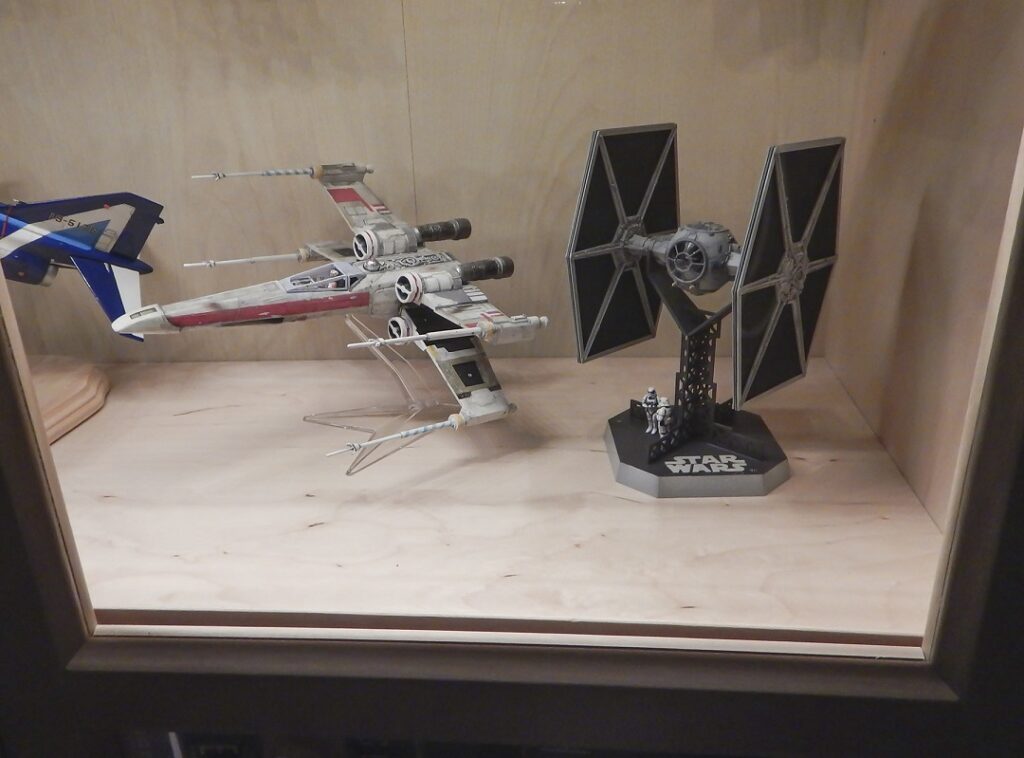
On display next to my dad’s TIE fighter model in his display case. : )
